
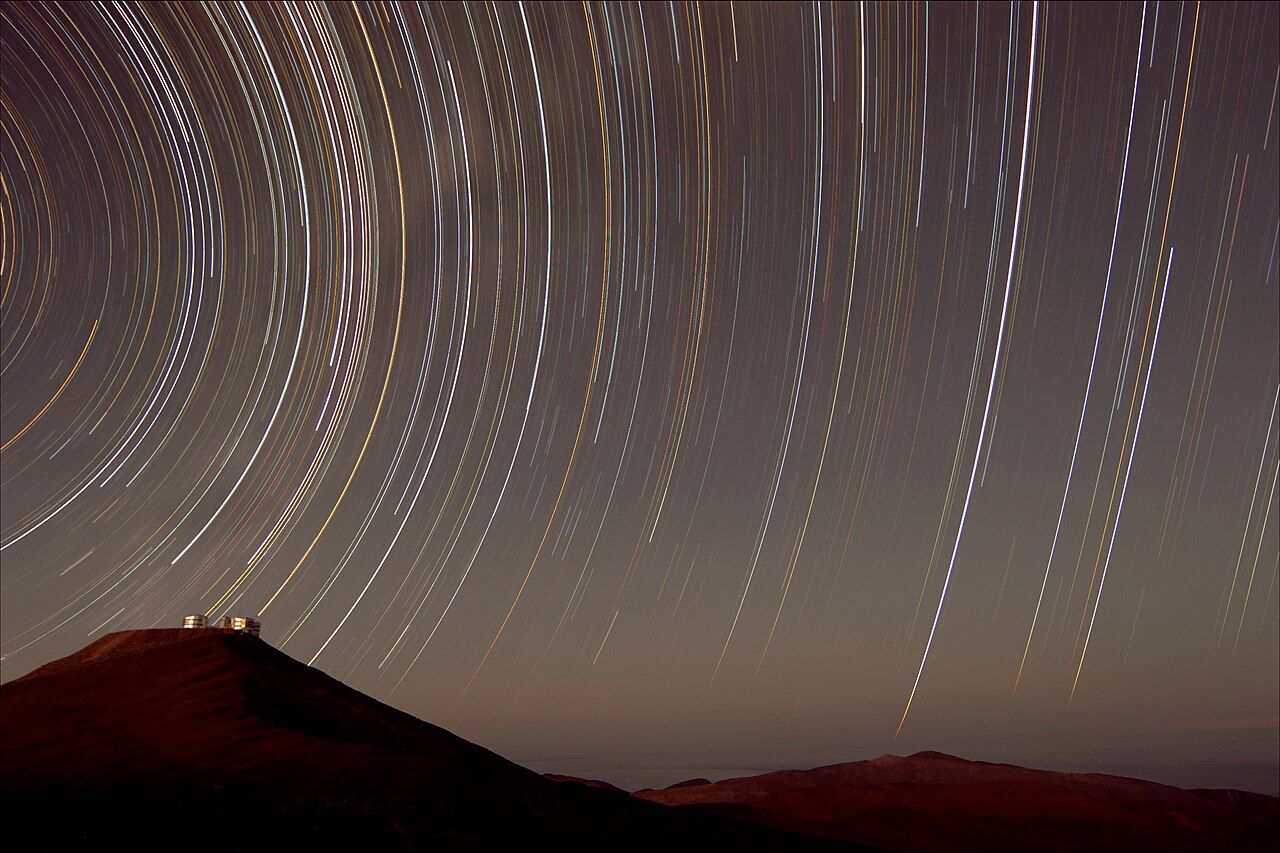
The Atacama sky is so clear that even a modest camera can catch the Milky Way, the Magellanic Clouds and thousands of stars in one frame. You do not need specialist equipment to start. You need a camera that lets you set exposure by hand, a lens that gathers plenty of light, something steady to hold it and the patience to work slowly in the dark and the cold.
The kit that matters
A sturdy tripod comes first. Exposures last many seconds, and any movement turns stars into smears. Desert wind can be strong at night, so choose the heaviest tripod you are willing to carry, spread its legs wide and keep the centre column down. Hanging a bag from the centre hook adds weight and steadies it further.
A wide-angle lens with a large aperture, such as f/2.8 or faster, suits the Milky Way and landscapes. Most cameras that allow manual settings work, including many compacts and some phones with a night or manual mode. A remote release or the camera's built-in timer stops you from shaking the camera when you press the button.
- Tripod, steady and low
- Wide, fast lens
- Remote release or self-timer
- Two or three spare batteries
- Red torch or head torch with a red mode
- Thin gloves you can work the controls in
Settings to start from
Every camera differs, but these settings make a reasonable first try with a wide lens:
- Set the camera to manual mode and turn off autofocus and image stabilisation.
- Open the lens to its widest aperture.
- Choose an ISO between 1600 and 6400, depending on how well your camera handles noise.
- Expose for about 15 to 25 seconds. Longer and the stars start to trail because the Earth turns.
- Shoot in raw format if you can, so you can adjust colour and brightness later.
Take a test shot, look at it, and change one setting at a time. The screen will look much brighter in the dark than the image really is, so check the histogram rather than trusting your eyes.
Focusing in the dark
Focus causes more failed night photos than anything else. Autofocus usually cannot find stars, and the infinity mark on many lenses is not exact. Turn on live view, point at the brightest star or planet you can find, magnify the screen as far as it goes and turn the focus ring slowly until the star becomes the smallest, sharpest point. Then leave the ring alone. A small piece of tape can stop it from moving when you handle the camera with cold fingers.
Star trails and the turning sky
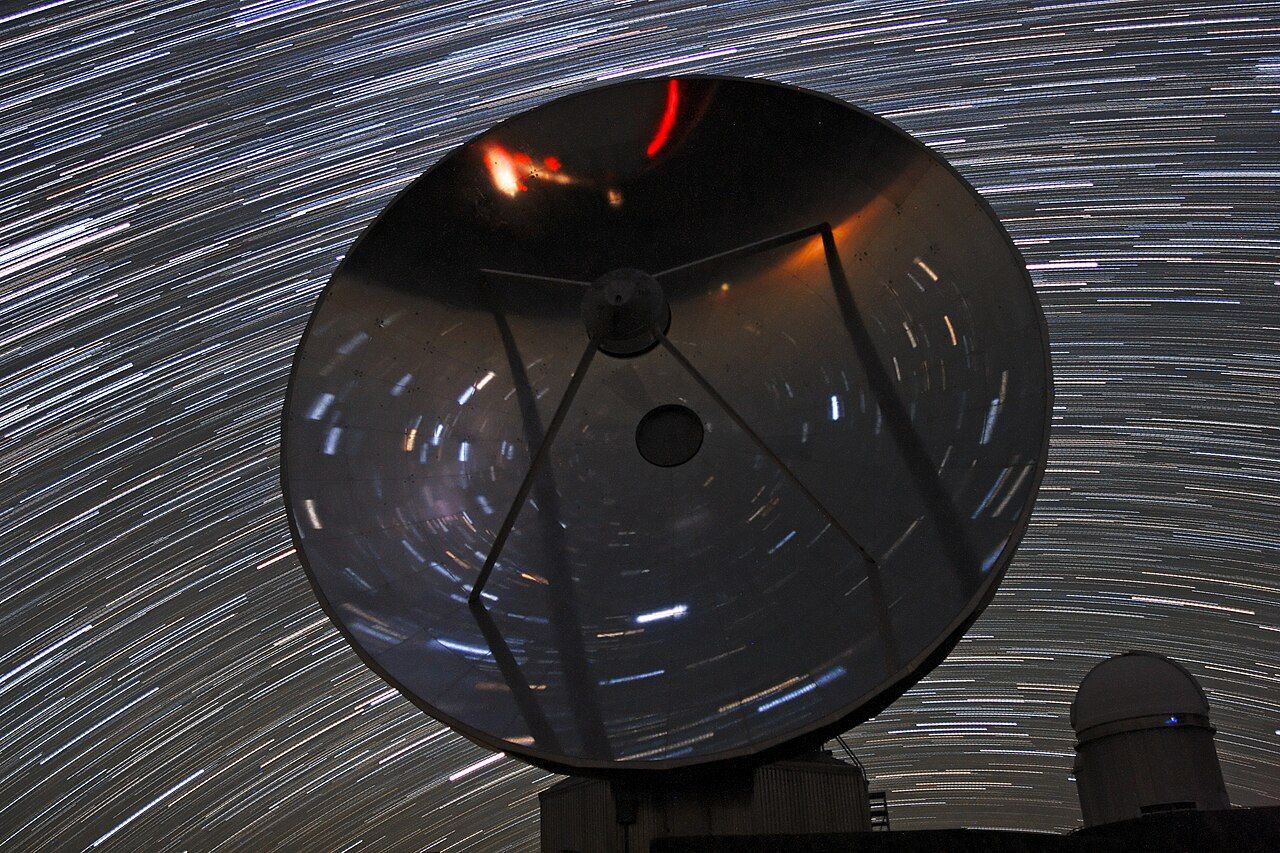
Because the Earth rotates, stars appear to wheel around the celestial poles. From San Pedro, the south celestial pole sits about 23 degrees above the southern horizon, in a patch of sky with no bright star to mark it. Point a camera that way, take hundreds of short exposures in a row and combine them later, and the stars draw circles around that empty point.
The same approach works facing east or west, where trails form long slanting lines. Star trail sessions take an hour or more, so they test your batteries and your patience. Set the camera running, step away with your red light off and simply enjoy the sky while it works. If you have read about the southern sky for northern eyes, this is a good moment to find the clouds and the cross by eye.
Look up next: Choosing your nights by the Moon
Cold, batteries and dew
Night temperatures near San Pedro can fall below freezing, especially in winter and at higher sites. Batteries lose power fast in the cold. Carry spares in an inside pocket, swap them before they die completely and warm the flat ones against your body. Gloves with thin liners let you work the controls without freezing your fingers.
Dew is less of a problem here than in wetter places, but frost can still form on lenses on still nights at altitude. Wind is the bigger issue; it shakes tripods and sends dust towards the glass. A lens hood and a soft cloth help. When you go back indoors, leave the camera in its closed bag for a while so it warms slowly and condensation does not form inside.
Look after yourself as well as the camera. A night shoot means standing still for hours, which chills you faster than walking. Dress in more layers than seems sensible, bring a hot drink and read desert heat and desert cold for packing ideas.
Respecting the dark and other people
Light from one torch can spoil the eyes and the photos of everyone nearby. Use red light only, keep it pointed at the ground and warn others before switching on anything bright. Light painting a foreground rock looks tempting, but do it only when you are alone, and briefly.
Stay on tracks and avoid driving or walking across fragile desert crust, which keeps tyre and boot marks for years. Some protected areas close at night, and rules for drones vary from one reserve or community site to the next; at many of them drones are simply not allowed. Sacred sites and rock art deserve respect after dark just as much as by day.
Learning from each night
Your first frames may be blurred, grainy or badly framed. That is normal. Note your settings, look at the results the next day and adjust. Try a landscape with the Milky Way rising over a ridge, then a frame with only stars, then a moonlit scene on a brighter night. Moonlight turns the valleys a soft silver and makes a good subject when deep-sky images are out of reach; the guide to Valle de la Luna covers one of the classic landscapes nearby.
Above all, remember to look up without the camera too. The best part of a night in the Atacama is the sky itself, and it rarely fits in one frame.